
ZHOBOT @ TWITCH.TV
Are we playing video games right this moment?! WE COULD BE. :O |
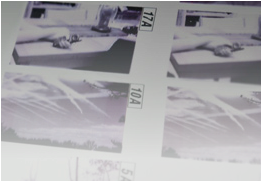
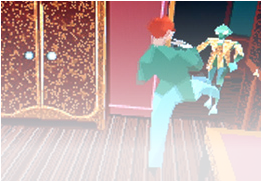
GENII LOCORUM
A forever ongoing set of photos that bring familiar fandoms and worlds to life. |
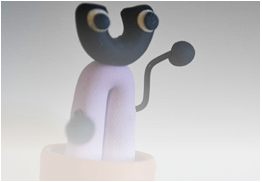
GROBITS
Little bits of cute in pots! Do you need a pick-me-up friend for your desk? Grobits! |
Latest Updates
October 1, 2019 - HELLO IT'S FOREVER LATER? We're finally working on the overhaul we talked about literal years ago, we're working on a number of new projects and the Arrested Development costume page is online! We also updated the About page a bit!
August 30, 2017 - There's going to be a huge overhaul to this site soon as we are shifting some projects around and starting some new ones! Keep an eye out! Also, we'll be at MAGLabs this weekend with our BioShock (Andrew & Jasmine) costumes and our new Persona 5 (Yusuke & Futaba) costumes! December 13, 2016 - The Jacen Solo costume page is online! Nate finishing it coincides with the opening of the Star Wars: Expanded Universe project we mentioned in the last update -- it's a Jacen Solo/Tenel Ka Djo photo project and we've been hard at work on it! Check it out at Sleeping With Ghosts. August 24, 2016 - The Jet Set Radio costume page is online! Our new shop is also up! Look for some news on a Star Wars: Expanded Universe related photo project here soon! 
|
|


